
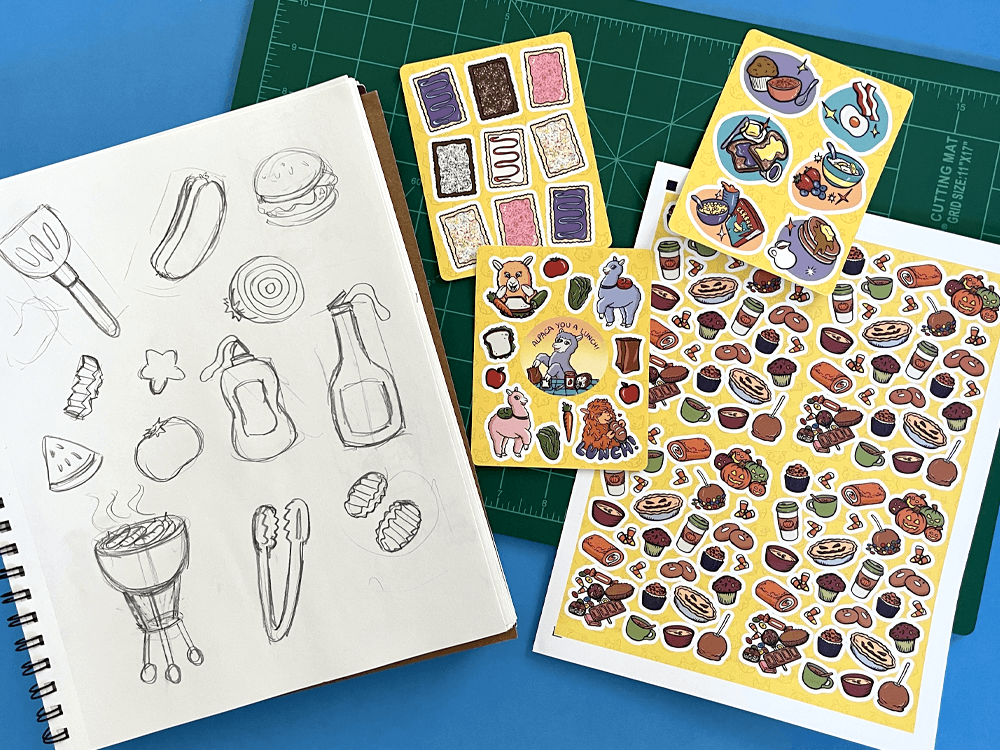
Some of my designed stickers before and after cutting
It should come as no surprise that stickers help inspire a lot of the art I enjoy making! Stickers are like little pieces of art you can have around at all times, whether it’s on your phone, wall, water bottle, or notebook! I love creating new artwork that I can turn into some form of a sticker, so let’s break down my process of how I make them:
1. Come up with a concept
Many times I’ll have a random idea or memory pop in my head that will lead to making some concept sketches. Something as simple as: whatever happened to those ’90s Shark Bite fruit snacks? may lead to a sticker sheet themed on nostalgic fruit snacks. Or maybe I’ll come across a dog wearing a stylish scarf that leads to a sticker sheet all about the cartoon version of this dog where I gave it an entire backstory for no reason but for absurd fun. As the cliche saying goes: the possibilities are endless!
2. Time to draw
I’ll grab a sheet of paper or draw some quick rough sketches on Procreate to map out the initial concepts. More ideas usually flow from here, so I highly encourage you to sketch anything, no matter how silly or dumb it sounds. These rough doodles help me crawl out of creative droughts or funks!
3. Finalize drawings
I’ll digitally polish my drawings with another sketch layered on top of the initial rough drawing and then digitally ink and color to finalize.
4. Split up drawings into individual files
I’ll take my finalized drawings and open them up in Photoshop where I’ll separate each artwork into its own PNG file to be imported in my sticker-making software.
5. Import into sticker-making software
I use a Silhouette CAMEO 4 to cut my sticker sheets which means I get to use their software (Silhouette Studio) to impose my sticker sheets. This is where things get interesting because I get to try and squeeze as much artwork as I can on a single sticker sheet while still trying to make it look good. I usually like to impose 4 sticker sheets to a page.
Maybe it’s reassuring for you to hear this, but I typically don’t preplan how the stickers will be imposed on a sheet when I’m making the original artwork. Where would all the fun in that be if I meticulously pre-planned everything?! Let your creativity shine and just figure it out as you go… (at least that’s what I tell myself to help ease my imposter syndrome).
6. Export the sticker sheet as a PDF and print in Photoshop
I have no idea why Silhouette Studio does this, but whenever I try to print from their software, the color profile is all wrong and looks faded. So I do a very clunky workaround where I export the imposed sticker sheet as a PDF, open it in Photoshop and fix the colors, and then FINALLY print on a piece of vinyl sticker paper from Photoshop. It’s that simple!
7. Start cutting
Alright, now it’s time to load that printed piece of sticker paper and adhere it to a sticky cutting mat for the Silhouette to do its thing. Sometimes I’ll have to reinforce the paper with some pieces of scotch tape to hopefully keep the paper in place and calibrated. Then I listen to the symphony of CAMEO’s alarming mechanical screeching…but don’t worry, those broken-sounding noises means it’s hard at work!
8. Peel ’n’ pray
Hooray, your stickers should be all cut and ready for business! I usually like to do a slight peel test for my kiss cut stickers to make sure the blade didn’t get too far deep or too shallow. Enjoy!
Thanks for reading this far! If you’d like to see some of these sticker sheets I made, check out my Etsy shop!